How to build a unified IT Asset Inventory in under 24 hours
Learn how to create an IT asset inventory in a day using agents, discovery, manual entry, or CSV imports with InvGate Asset Management.
InvGate Asset Management allows you to build a complete asset inventory with ease and in less than 24 hours to its multiple asset registration methods, the process is very straightforward and only takes a few steps.
Method 1: Install the InvGate Agent

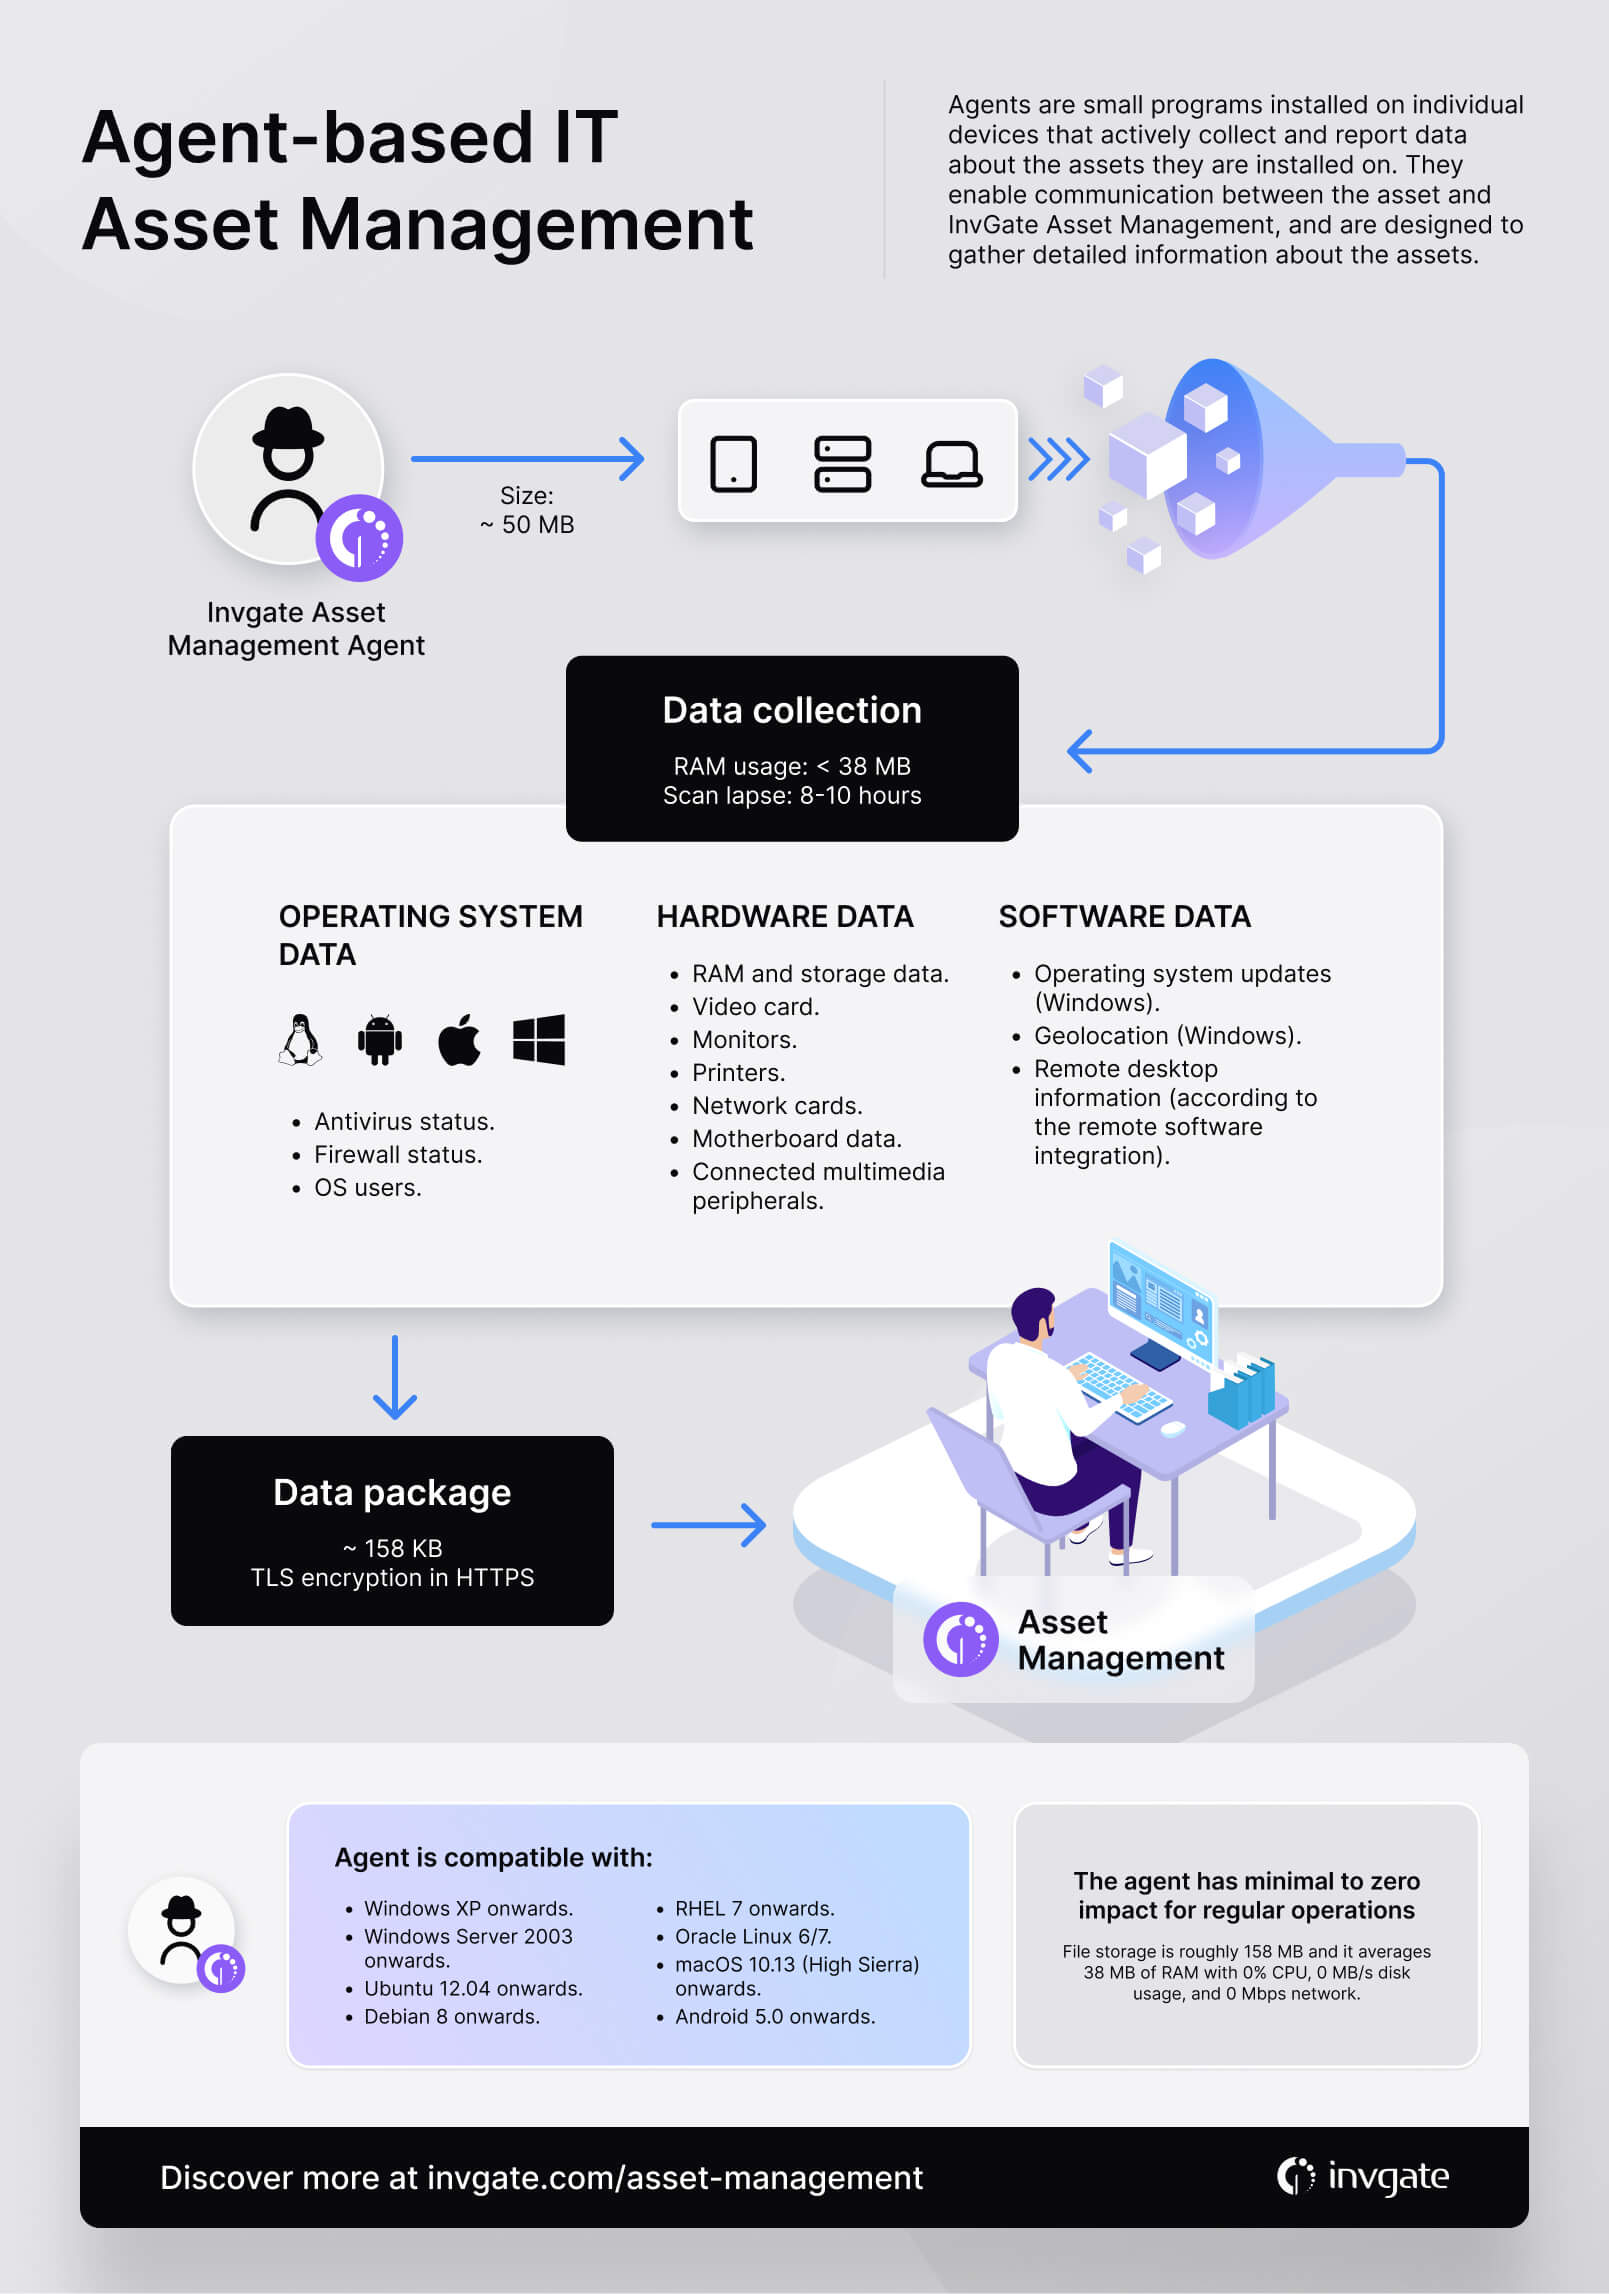
The Agent is a small program installed directly on an asset to automatically add it to the inventory. Once installed, it continuously collects relevant data, such as hardware specifications and installed software. It’s compatible with computers, servers, and mobile devices.
Follow these steps to install the agent:
- Go to Settings > Network > Agent Deployment
- Select the operating system of the assets you want to include in the inventory.
- Choose the installation method – it can be manual or remote (via Group Policy Object or proxy).
Note: Depending on your selection, you’ll be shown specific instructions and detailed steps to complete the installation.
Method 2: Use InvGate Discovery
Our built-in discovery feature lets you detect devices connected to your network and other platforms, and decide which ones to include in your inventory.
Follow these steps to scan your network:
Step 1: Download and install the proxy
- Go to Settings > Network > Proxies
- Click on Add and save the information provided in the modal. You’ll need it later on. Select the operating system where the proxy will be installed and download the installer.
- Select the operating system where the proxy will be installed and download the installer.
- Go to the downloads folder and run the installer.
Step 2: Configure the proxy
- Once installed, a configuration window will open. Complete the required fields: Insight/IGAM URL, Proxy security token, and choose a Proxy name (you'll find this info in step 4's modal).
- Click Configure proxy. When finished, click Start scanning.
Optional: Return to the Proxies screen and click Refresh to confirm the connection was successful.
Step 3: Create a Discovery source (if needed)
In most cases, creating a proxy also generates an InvGate Discovery source in the Discovery Sources section. If that’s the case, you can skip this section and wait for the scan to finish. However, if you want to add another discovery source, follow these steps:
- Go to Discovery Sources and click Add.
- Choose InvGate Discovery and fill in the requested data: name, type (automatically selected based on your previous choice), proxy, protocols, and any required protocol details.
- Define the start date, time, and frequency of the scan and click Save. Once completed, the discovered assets will be displayed.
Step 4: Review your newly discovered assets
- Go to Assets > Discovery.
- You’ll see the recently detected assets. Select one and click Convert to asset.
- A form will open – complete the necessary fields and apply changes. You can also modify the asset later if needed.
- Return to Assets and your new asset will be visible and ready to use.
Other discovery sources
The same discovery process can also be carried out through external platforms, beyond your local network. InvGate Asset Management offers integrations that allow you to import assets from:
- Microsoft Hyper-V and VMware: Virtual machines and their configurations.
- Microsoft Intune: Mobile devices and endpoints managed via MDM policies.
- Active Directory: Computers, users, and domain-related data.
- Amazon Web Services (AWS) and Microsoft Azure: Cloud instances, virtual servers, and associated resources.
- JAMF: Apple devices managed via MDM.
- Google Workspace: Users, Chrome OS devices, and organizational data.
Method 3: Manually create assets
You can also register assets one by one by manually filling in only the necessary fields. This method is ideal for adding individual assets or assets with very specific data.
To do this:
- Click the green “+” button on the top-right corner and select Create CI's.
- Choose the asset type (e.g., Assets > Printer).
- Fill in the required fields: name, status, manufacturer, model, etc.
- Click Create to save the asset.
Import assets from a CSV or XLS file
If you need to upload a large number of assets, you can import them all at once using a .CSV file. This method is especially useful for bulk migrations, inventory updates, or syncing with other platforms.
Steps:
- Click the green “+” button at the top-right and select Import CI's.
- Download the template by clicking Download template.
- Fill in the template with your asset data. Fields marked with an asterisk (*) are mandatory.
- Upload the file and select the delimiter (comma, semicolon, etc.).
- Define the parameter to check for existing assets (e.g., Inventory ID).
- Map each column from the file to the corresponding system field.
- Click Preview to review the assets to be imported.
- Fix any errors or click Import valid assets to register only the correct entries.
What happens to the imported data?
Once the assets are uploaded, InvGate Asset Management runs a data normalization process to ensure consistency and data quality across your inventory. This includes:
- Standardizing manufacturers and models (e.g., merging “HP” and “Hewlett-Packard”).
- Automatically validating required fields and formats.
- Detecting duplicates based on your selected parameters (such as Inventory ID or asset name).
- Intelligently assigning existing values, such as locations, asset types, and owners.
This step is essential to keep your inventory organized, make searches easier, and ensure that all data is immediately usable.