How to set up an omnichannel support strategy
Meeting employees and customers where they already are is key to building a support experience that actually works. With InvGate Service Management, you don’t have to chase conversations across multiple tools or risk losing context — the platform connects your communication channels and brings everything together for IT to manage in one place.
You already have an integrated self-service portal to handle requests, but you can go further. Email, the Virtual Service Agent (VSA), and even WhatsApp messages can all flow into the same system, so your team has a single source of truth.
#1. Configure the self-service portal
The self-service portal is the foundation of your omnichannel support. It gives employees one place to submit requests, check their progress, and — most importantly — find answers on their own.
To make the portal effective, you’ll need two components: a service catalog and the portal itself.
- Service catalog: Start by creating categories that represent the types of requests employees can submit. Each category should have a clear name, icon, and description, plus keywords to make it easy to find. Assign the responsible team for each category so requests route to the right people automatically.
- Portal design: Once the catalog is structured, customize the employee-facing portal. Go to Settings > General > Portals, scroll down to “Self-Service Portal”, and add your logo, brand colors, and welcome text. Organize categories, pin important ones (like “Access Requests” or “Equipment”), and highlight FAQs or knowledge base articles. Use the Preview option to see how employees will experience it before publishing.
#2. Synchronize your email
Not everyone will use a portal or chat tool, and email remains one of the most common ways employees request support. In InvGate Service Management, any email sent to your configured mailbox is automatically converted into a ticket that agents can process like any other request.
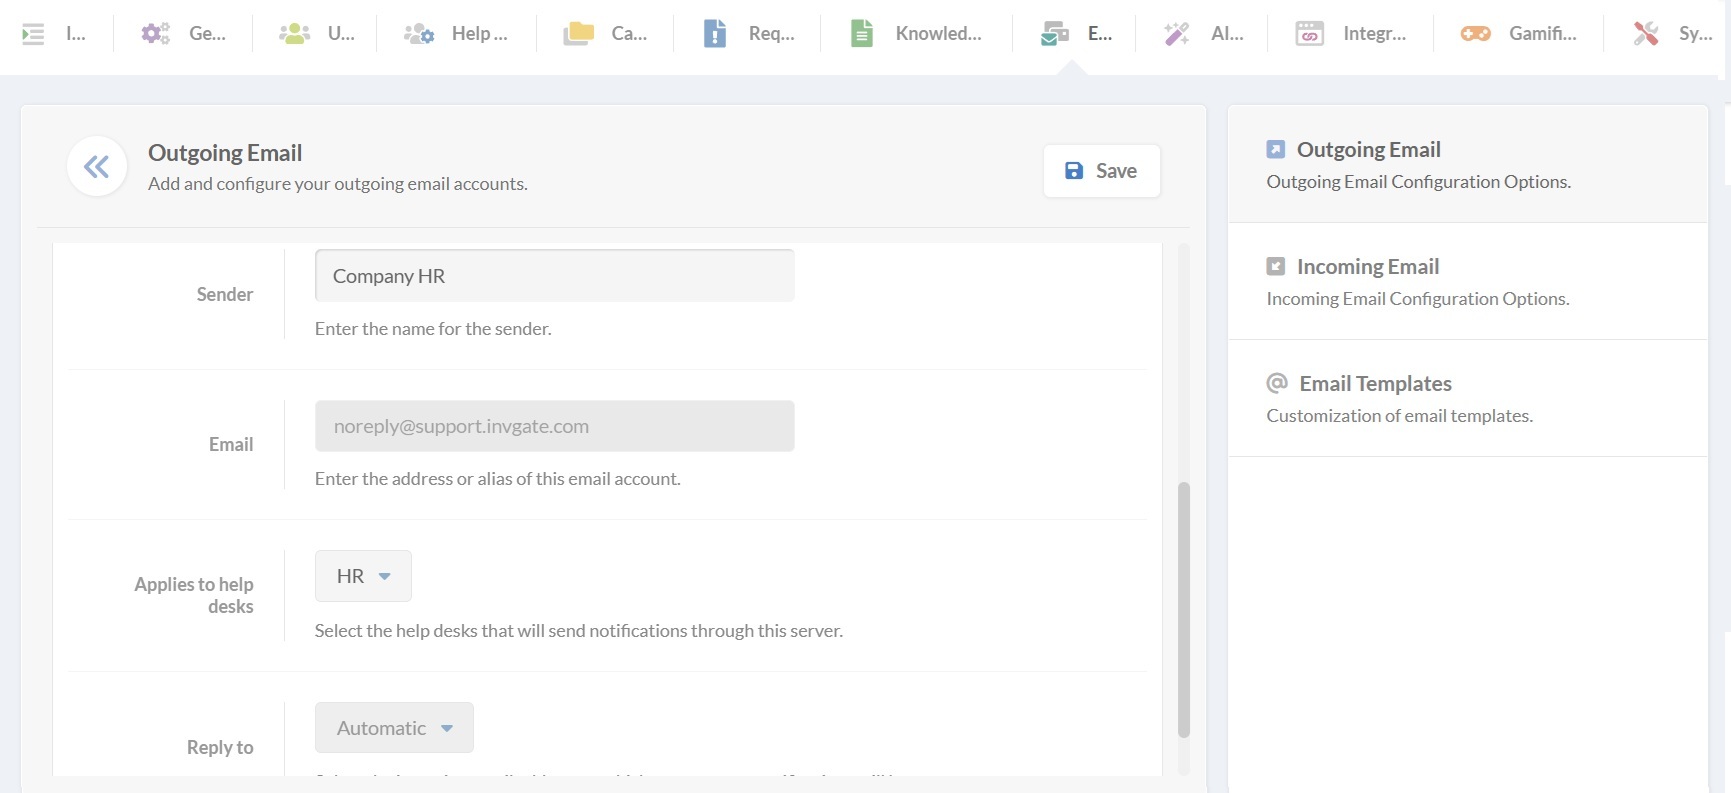
To set it up, go to Settings > Email. Select an email or click add and set up a new email with name and service provider. Next, click edit and you’ll get the following options:
- Default categorization: For example, you can assign incoming emails to “Report a problem” and set them to low priority by default.
- Registered and unregistered users: Decide how to handle requests from people who aren’t in the system, and whether CC’d users should be added automatically.
- Additional settings: Customize the sending address, configure how attachments are handled, and set rules such as requiring authentication to download attachments.

Once configured, you can test the integration with the wrench icon. Sending a message to the mailbox will instantly generate a ticket inside InvGate. Agents can then reclassify the request, add details, and work on it until it’s resolved.
Tip: If your goal is to encourage employees to use the portal or the VSA instead of email, you can disable incoming email in the same configuration screen.#3. Set up the Virtual Service Agent
The Virtual Service Agent gives employees real-time support in the tools they already use. Instead of opening a ticket in a separate system, they can chat directly with the agent through Microsoft Teams or WhatsApp. The VSA interprets natural language, connects to your knowledge base, and provides multiple ways for employees to interact:
- Providing solutions: Users describe their issue and receive responses based on the instance’s knowledge base. If no relevant information is found, the VSA can search external sources. When no solution is available, it offers to create a request and even suggests the most appropriate category.
- Creating requests: Users can submit new requests directly from Teams or WhatsApp without leaving their chat window.
- Checking status: The VSA allows employees to review the status and updates of their requests in real time.
1. Enable AI features in the AI Hub
To enhance the VSA with intelligent features, log in as an administrator and go to Settings> AI Hub. There, you can use the toggles to enable each feature, such as Article suggestions, knowledge base summaries, and AI-generated responses.
2. Connect the VSA to Microsoft Teams
- Go to Settings > Integrations > Applications in InvGate Service Management.
- Choose Microsoft Teams and add your Entra Tenant ID and the relevant details.
- Click the download icon to get the InvGate Virtual Agent app.
- In Teams, go to Apps > Manage my apps > Upload an app to upload the package. Tip: From the Microsoft Teams Admin Center (Teams apps > Manage apps > InvGate Virtual Agent), you can customize the bot’s name, icon, and colors so it feels like part of your support environment.
For cloud instances, the Virtual Agent will be available to install directly from the apps section in Teams.
For on-premise, you need to follow these extra steps:
3. Connect the VSA to WhatsApp
Before configuring, make sure you have:
- The outgoing email set up in InvGate Service Management.
- A WhatsApp Business account with a phone number and payment method.
Then:
- In InvGate, go to Settings > Integrations > Applications and click Add.
- Complete the setup window: Name, Enabled users, Credentials configuration (opens Meta setup), and WhatsApp Business PIN.
- In Meta, verify your identity, then click Continue as…
- Connect your Meta account to InvGate and click Get started.
- Select or create a WhatsApp Business Account and Profile.
- Accept permissions and click Continue.
- Add a payment method for Meta’s services.