How to set up an IT asset loan workflow
Standardizing the asset loan process makes it easier to manage reservations, prevent conflicts, and keep IT teams and end-users aligned.
With InvGate Service Management, you can build a workflow that covers every stage, from request submission to returning equipment, while integrating with InvGate Asset Management.
#1. Set up the asset loan workflow

You can launch the process by selecting the asset loan workflow template and adapting it to your needs (you can download the workflow template preview from here).
- Log in with an admin role and go to Settings > Requests > Workflows.
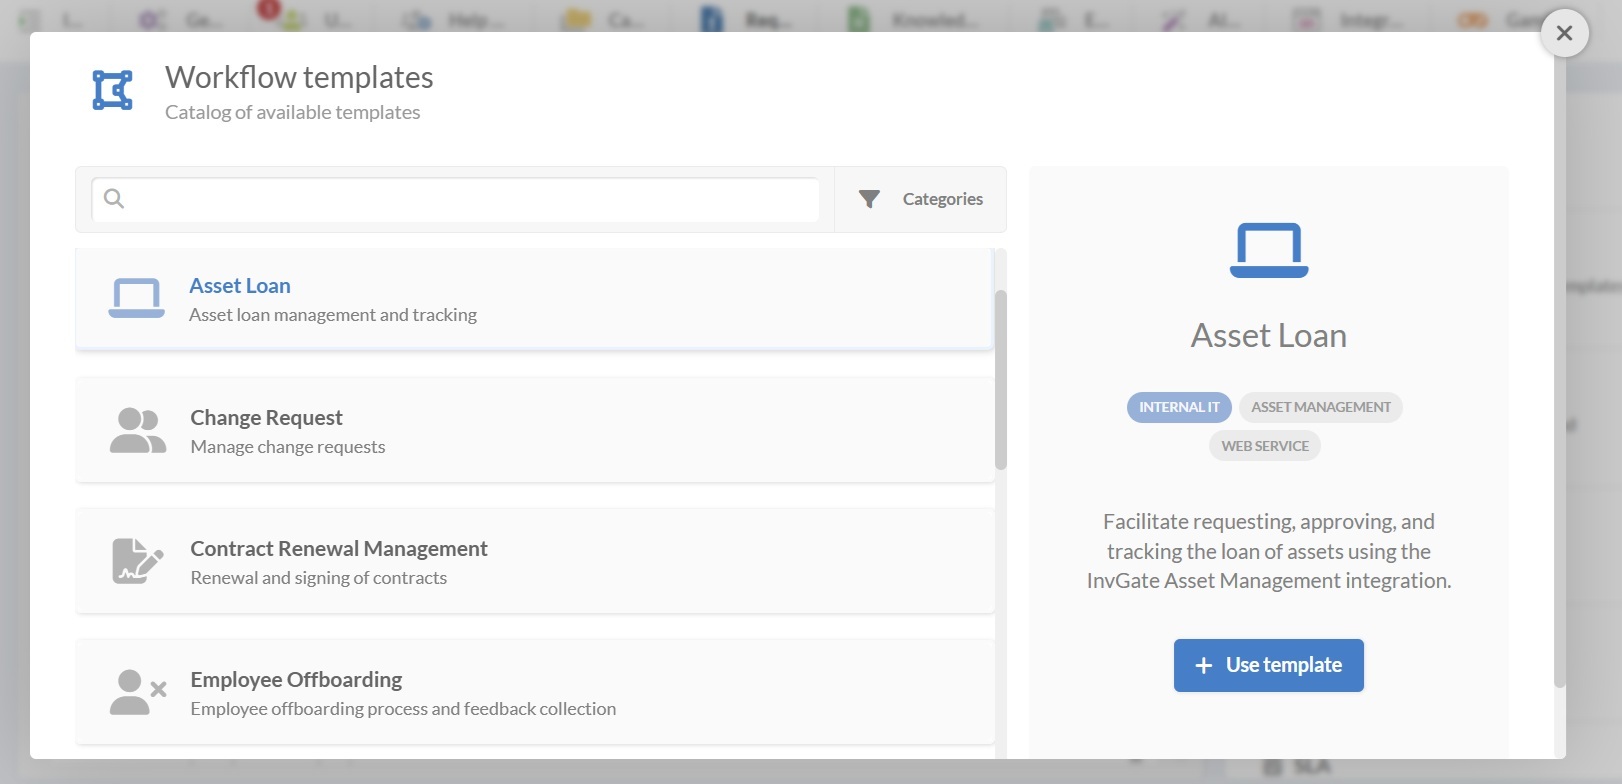
- Select the Asset Loan workflow from the list of templates.
- Click Use template to open it in the Diagram Editor.
#2. Edit the asset loan workflow template

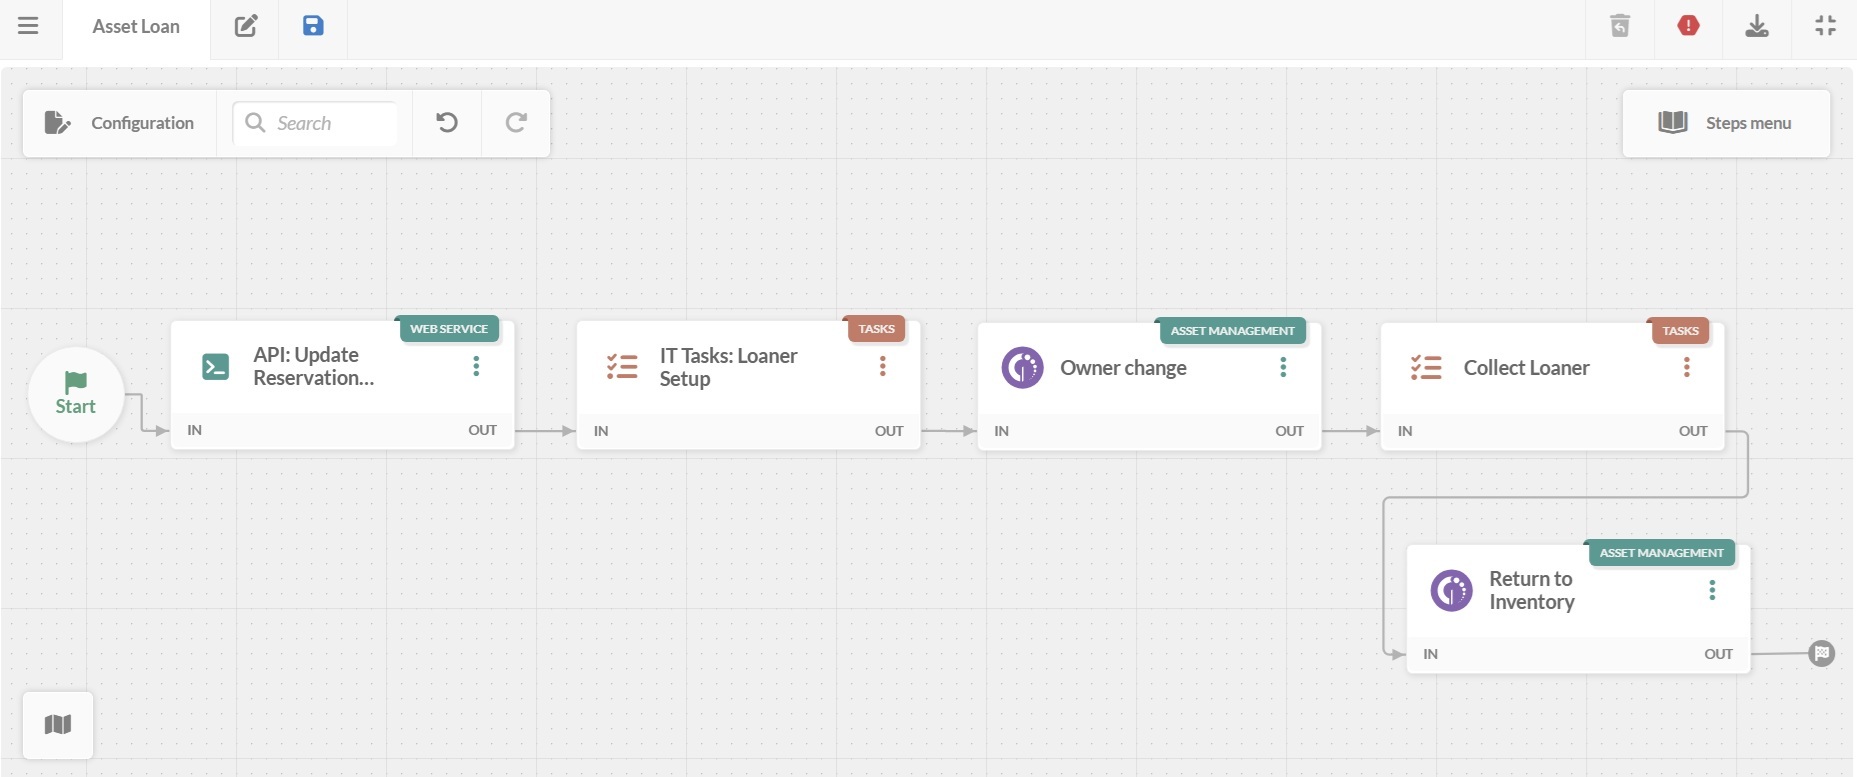
In the workflow diagram, each block defines how the process works, who manages it, and what users see. Double-click any block to open its configuration and adjust forms, tasks, and integrations.
Here’s what each stage does.
1. Start form
The workflow begins with a form where employees submit their loan request:
- Desired loan dates.
- The type of configuration item (CI) they want to borrow.
- Additional comments (optional).
2. Populate calendar
Once the request is submitted, the system connects to your calendar via API to automatically log the reservation. This prevents overlapping bookings and makes the schedule visible to both users and IT staff.
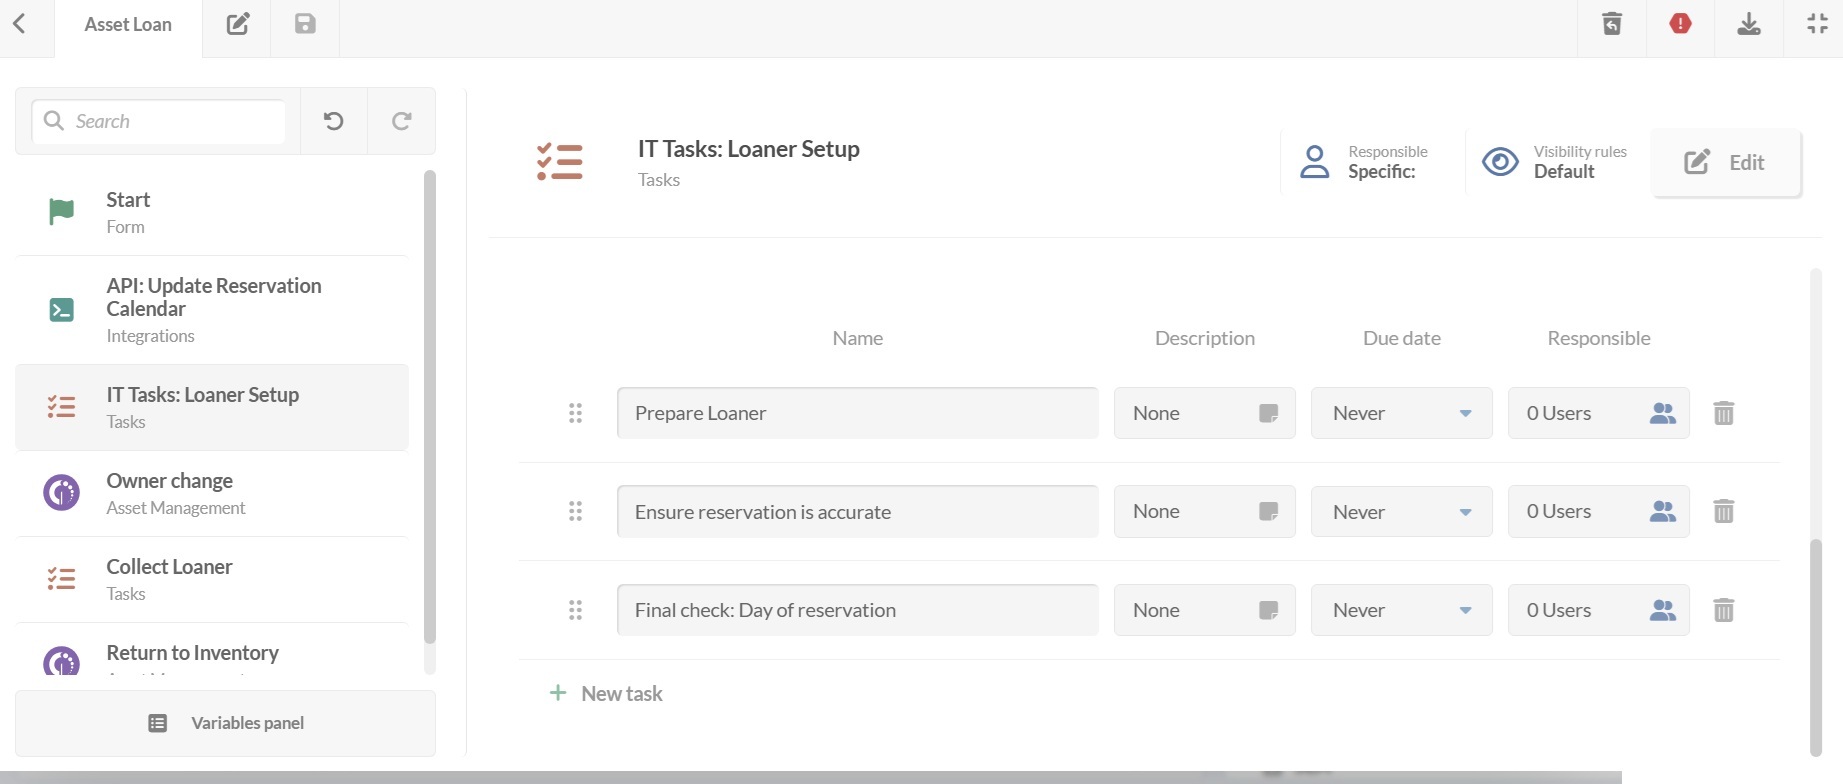
3. Assign IT tasks

This step consists of a list of tasks for the IT team to prepare the loaner equipment, with a description, due date, and a responsible party.
You can set the tasks as optional so they can be skipped without blocking the workflow. Also, with the task creation toggle enabled, you allow new tasks to be added during execution.
4. Assign user
The workflow integrates with InvGate Asset Management to:
- Update the asset’s status to Loaned.
- Automatically assign the requester as the current owner.
5. Collect returned loaners
When the loan period ends, agents are prompted with tasks to handle the return:
- Confirm receipt of the asset.
- Inspect the condition of the equipment.
- Record any notes or required follow-up.
6. Return to inventory
The cycle finishes with another API call to InvGate Asset Management:
- Asset status is updated to ready to loan.
- The assigned owner is cleared.
#3. Deploy the workflow
Once the asset loan workflow is ready:
- Click the save icon and return to the Workflows menu.
- Click Publish version to activate the updated process.
- Assign the workflow to a request category, such as IT > Loaner requests.
- Click Assign now.
From then on, any request submitted in that category will follow the defined workflow.