How to create a Microsoft Teams virtual service agent
The Virtual Service Agent (VSA) in InvGate Service Management enables employees to manage requests and get support without leaving Microsoft Teams.
Instead of contacting a service desk agent directly, they can create requests, track progress, and ask questions from the chat tool they already use.
What the Virtual Service Agent can do in Teams
The Virtual Service Agent isn’t just a chatbot — it brings IT Service Management tasks directly into Microsoft Teams. With it, users can:
- Create requests in natural language — e.g., typing “I can’t access the VPN” prompts the agent to suggest a knowledge base article or create a ticket with details pre-filled.
- Search the knowledge base for answers, with prioritized suggestions and even AI-generated article summaries.
- Check request status and view details of open or past tickets.
- Comment on requests to add information or reply to support updates.
- Handle approvals by accepting or rejecting directly from Teams.
- Receive notifications when there are updates, assignments, or approvals waiting.
When an employee asks a question, the agent first looks for answers in the knowledge base. If it finds a relevant article, it shares it immediately. If not, it can also check external sources and suggest possible solutions. When no clear answer is available, the agent offers to create a request and automatically fills in key details like the title and description.
Agents and managers can also approve or reject requests directly in Teams. In addition, the agent delivers notifications in real time, so users know when a request is updated without needing to check the service desk separately.
#1. Connect Microsoft Teams to InvGate Service Management
Log in as an administrator and go to Settings > Integrations > Virtual Agent. Click Add and provide the details required to establish the connection, including your Microsoft Entra Tenant ID.
- Cloud instances: You can install the InvGate Virtual Agent directly from the Microsoft Teams app store.
- On-premise instances: You’ll need the InvGate Virtual Agent app package, which you can download from the platform and then upload manually into Microsoft Teams.
Once installed, the Virtual Service Agent will be available as a bot for employees to use inside Teams.
#2. Customize the agent

You can adjust the Agent’s presentation to match your organization.
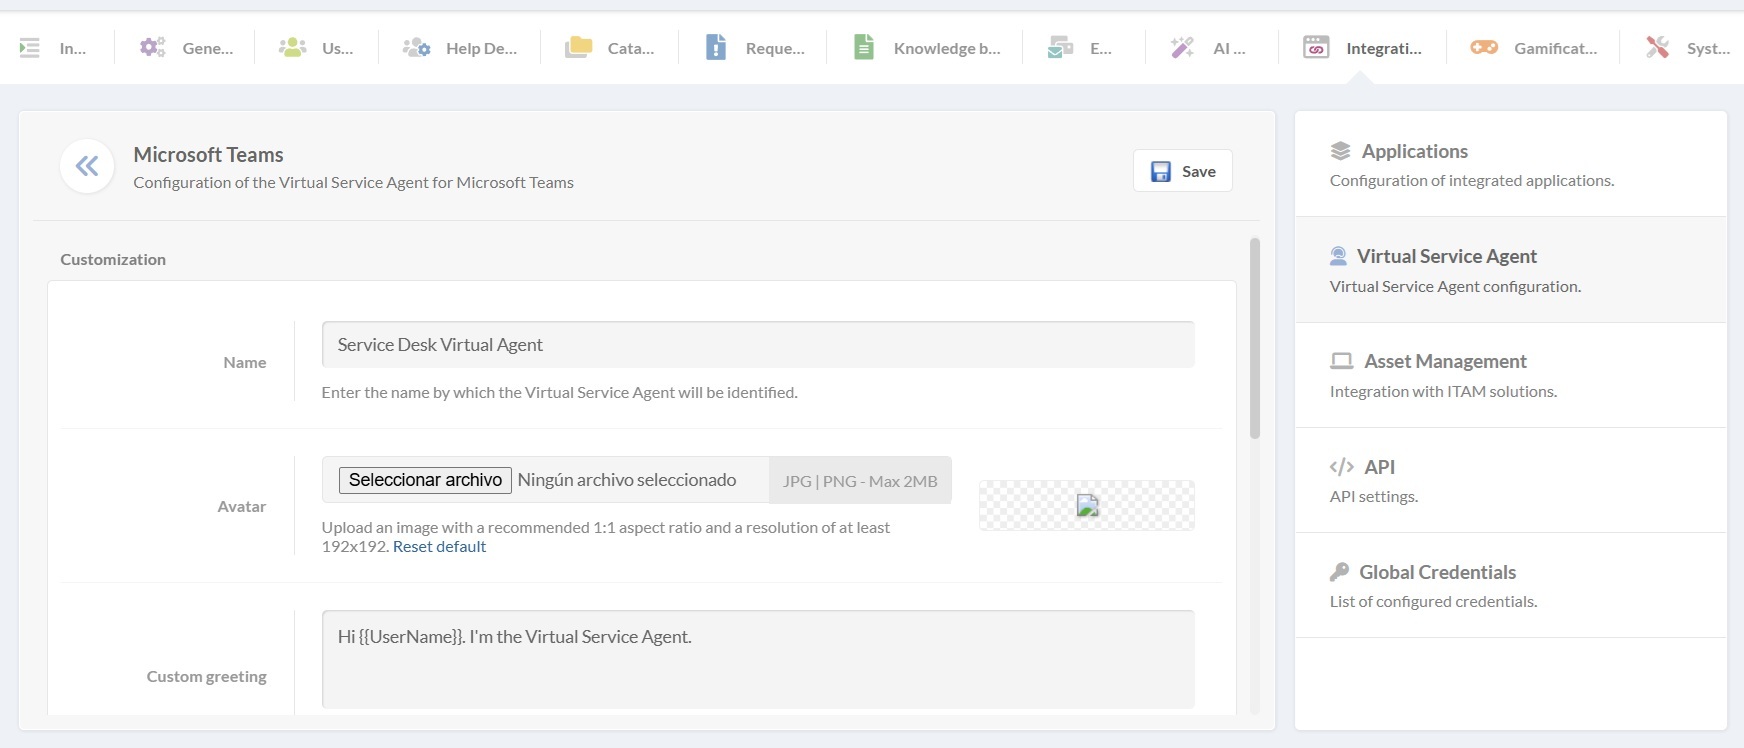
Go to Settings > Integrations > Virtual Service Agent and click the pencil icon Edit.
Update its name, avatar, welcome message, and closing so that employees interact with a familiar support assistant. Remember to include dynamic variables (e.g., UserName) in greetings or messages to create a more personalized interaction.
#3. Enable intelligent features
InvGate lets you control how much AI support the Virtual Service Agent provides. Go to Settings > AI Hub > Virtual Service Agent to enable or disable specific features:
- Contextual knowledge article summaries – the agent generates short summaries of knowledge base articles to provide quick answers.
- Solutions from external sources – the agent can suggest answers from external, AI-powered resources when no internal documentation is available.
You can also choose to run the Virtual Service Agent without AI. In that case, employees will interact with it only through commands. To do it, go to Integrations > Virtual Service Agent. Find Microsoft Teams, click Edit. Then, disable Smart responses.