How to create SOPs for your service desk
With InvGate Service Management, you can build your service desk SOPs so agents always know the right steps to follow. The best part is that you don’t need to start from scratch — InvGate gives you multiple ways to turn your SOPs into repeatable, automated, and trackable processes.
#1. SOPs as checklists and subtasks
For straightforward, linear processes, you can create checklists inside requests. Agents see exactly what needs to be done and check off items as they go. For example, if you’re handling a computer hot swap SOP, every step — from saving the user’s data to wiping the old device — can appear automatically inside the ticket.
Setting this up takes just a few clicks:
- Log in as an admin, go to Settings > Requests > Automations.
- Click add to create an automation that matches a request type (like “Computer request”).
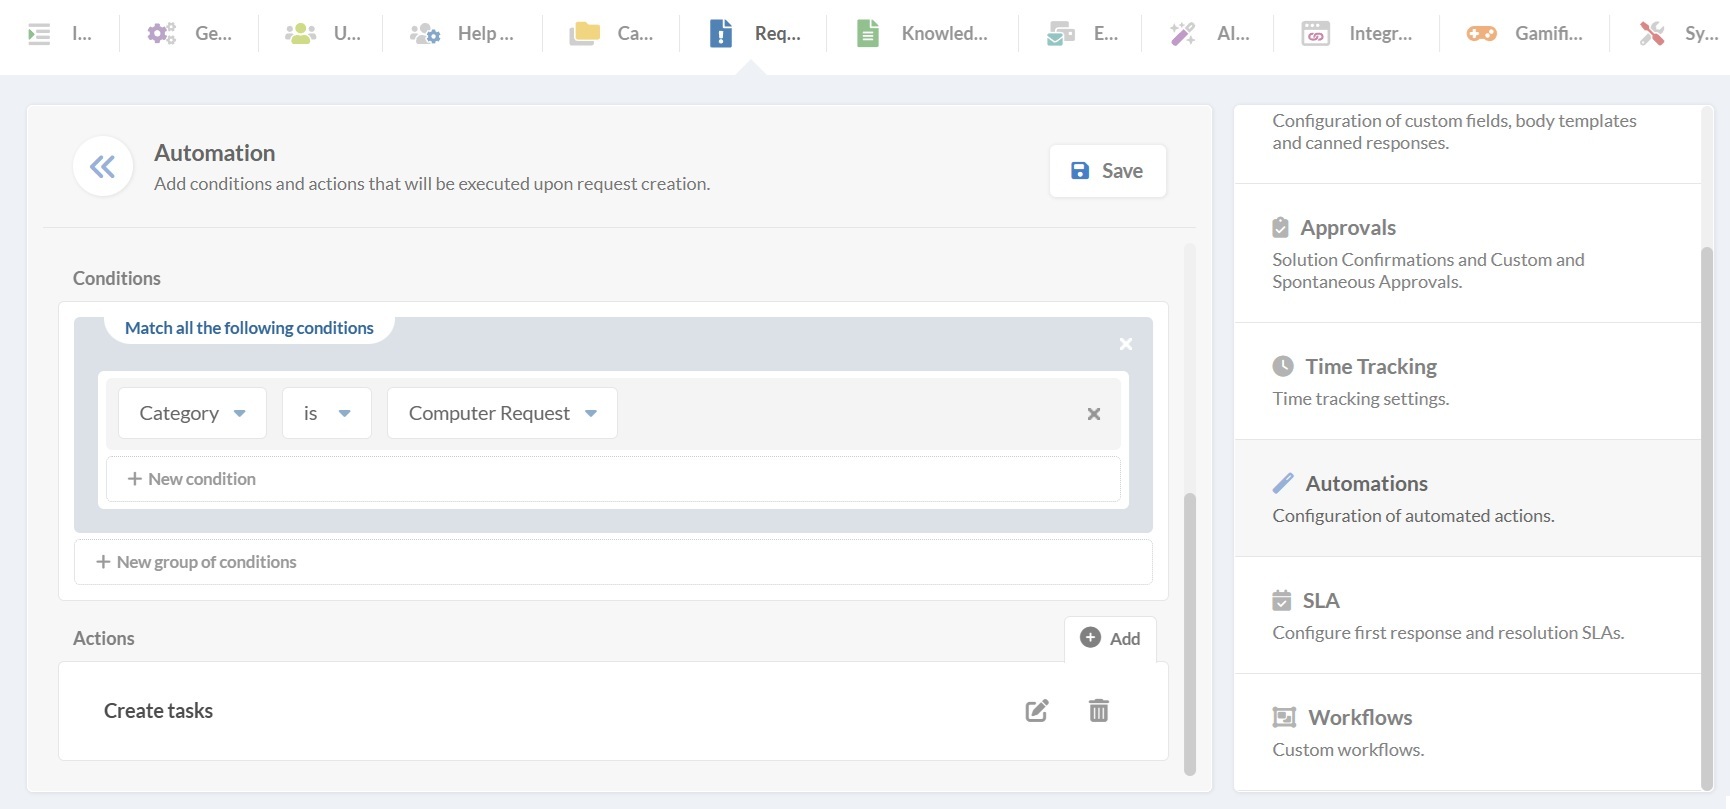
- Under Actions, click add, then, from the actions menu, “Add tasks”.
- Complete the list of tasks that should be paired with this type of request each time. You can include descriptions, responsibles, and whether each task is mandatory (under “Behavior”).

Now, each time a matching request comes in, the subtasks are created automatically. Agents complete them, the progress bar updates, and the SOP is followed without missing a step.
#2. SOPs as workflows
Some SOPs involve more than one team or several stages. For those, workflows are the right choice. Workflows let you build processes where tasks only move forward once the previous step is complete.
Let’s take onboarding as an example. A solid help desk SOP for onboarding makes sure that IT, HR, and Facilities all complete their tasks before a new employee’s first day. With InvGate Service Management, you can design this once and let the system handle it every time.
As an admin, you can:
- Go to Settings > Requests > Workflows.
- Add a new workflow, or get a head start with one of our workflow templates.
- Let’s continue with our example: choose the Employee Onboarding workflow template. From here, you can:
- Add or edit steps for each department in the workflow editor.
- Configure forms so requesters and managers provide the right information.
- Add approvals where needed.
- Automate task creation for IT or other departments, such as creating user accounts or scheduling equipment delivery.
#3. SOPs as knowledge articles

Not every SOP needs to be automated. Sometimes you just need clear instructions at hand — especially for less frequent or evolving processes. InvGate Service Management lets you store help desk SOPs as knowledge articles.
When working on a ticket, agents can quickly search the knowledge base, open the SOP, and follow it step by step. This option is especially useful for developing checklists or troubleshooting guides, training new agents, or documenting best practices.
- Log in as an agent and go to Articles.
- Click New article.
- Select the category where the SOP belongs (for example, IT → System Administration → User Account Management).
- Choose the privacy setting:
- Public: all employees can see it.
- Private: only agents and managers can see it.
- sAdd a clear title.
- Write the SOP content. You can format text, add bullet points or numbered steps, tables, and insert images or screenshots.
- Click Save and publish.