How to design a Release Management process flow
A structured Release Management process helps IT teams deliver updates and new functionality without disrupting business operations.
With InvGate Service Management, you can standardize the way releases are handled, automate approvals, and assign tasks to the right people at each stage.
#1. Set up the Release Management workflow

The easiest way to start is by selecting the Release Management workflow template and adjusting it to match your process (you can download the workflow template preview from here).
- Log in with an admin role, then go to: Settings > Requests > Workflows.
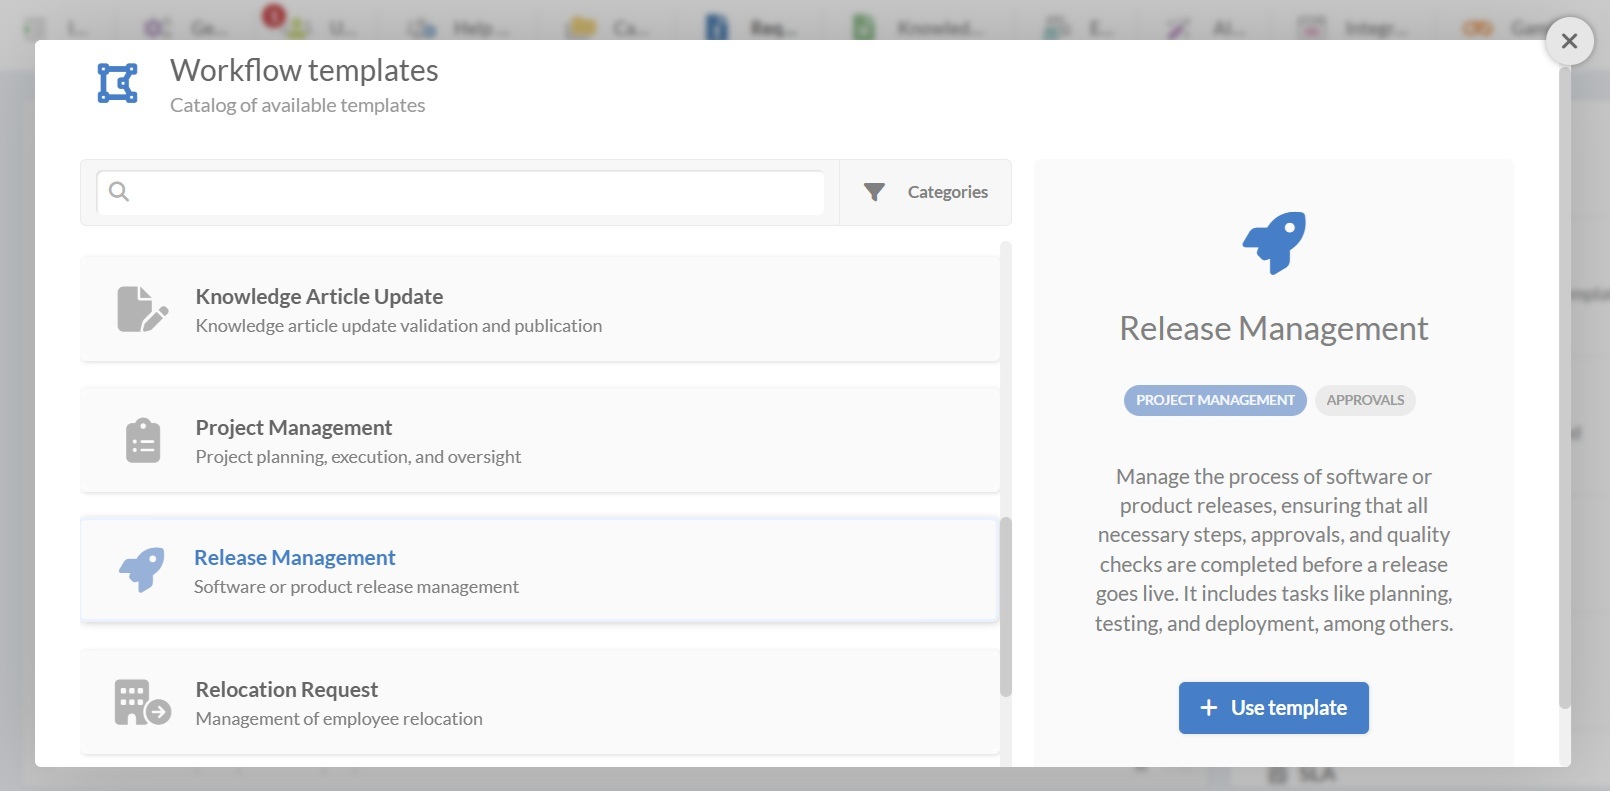
- Select the Release Management workflow from the list of templates.
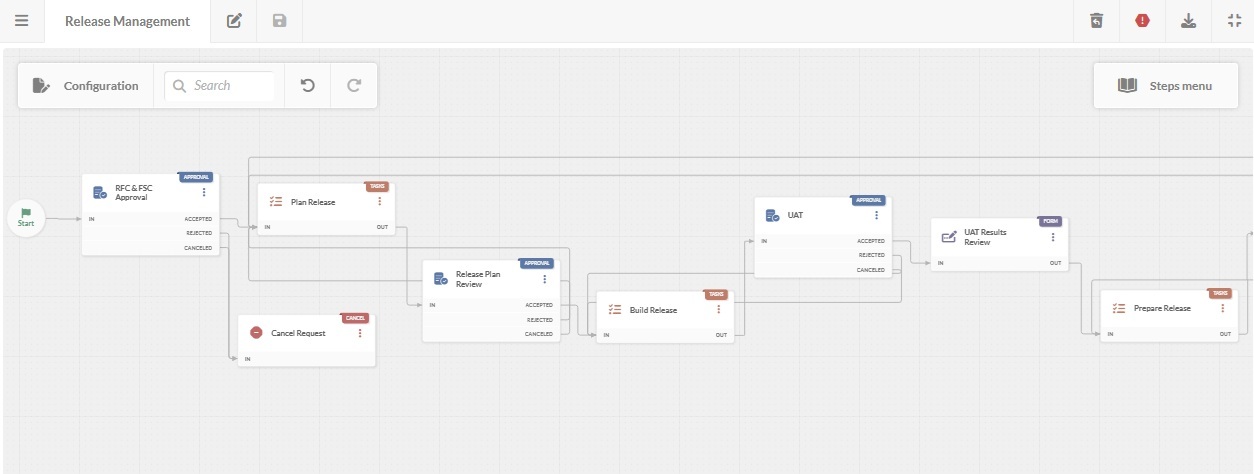
- Click Use template to open it in the Diagram Editor, where you can see all the steps and customize them.
Tip: From here, you can create workflows from scratch, import ones with the .sdw extension, or edit existing templates.
#2. Edit the Release Management workflow template

In the diagram, double-click any block to configure forms, tasks, or approvals. Below is a breakdown of the suggested steps and how they work.
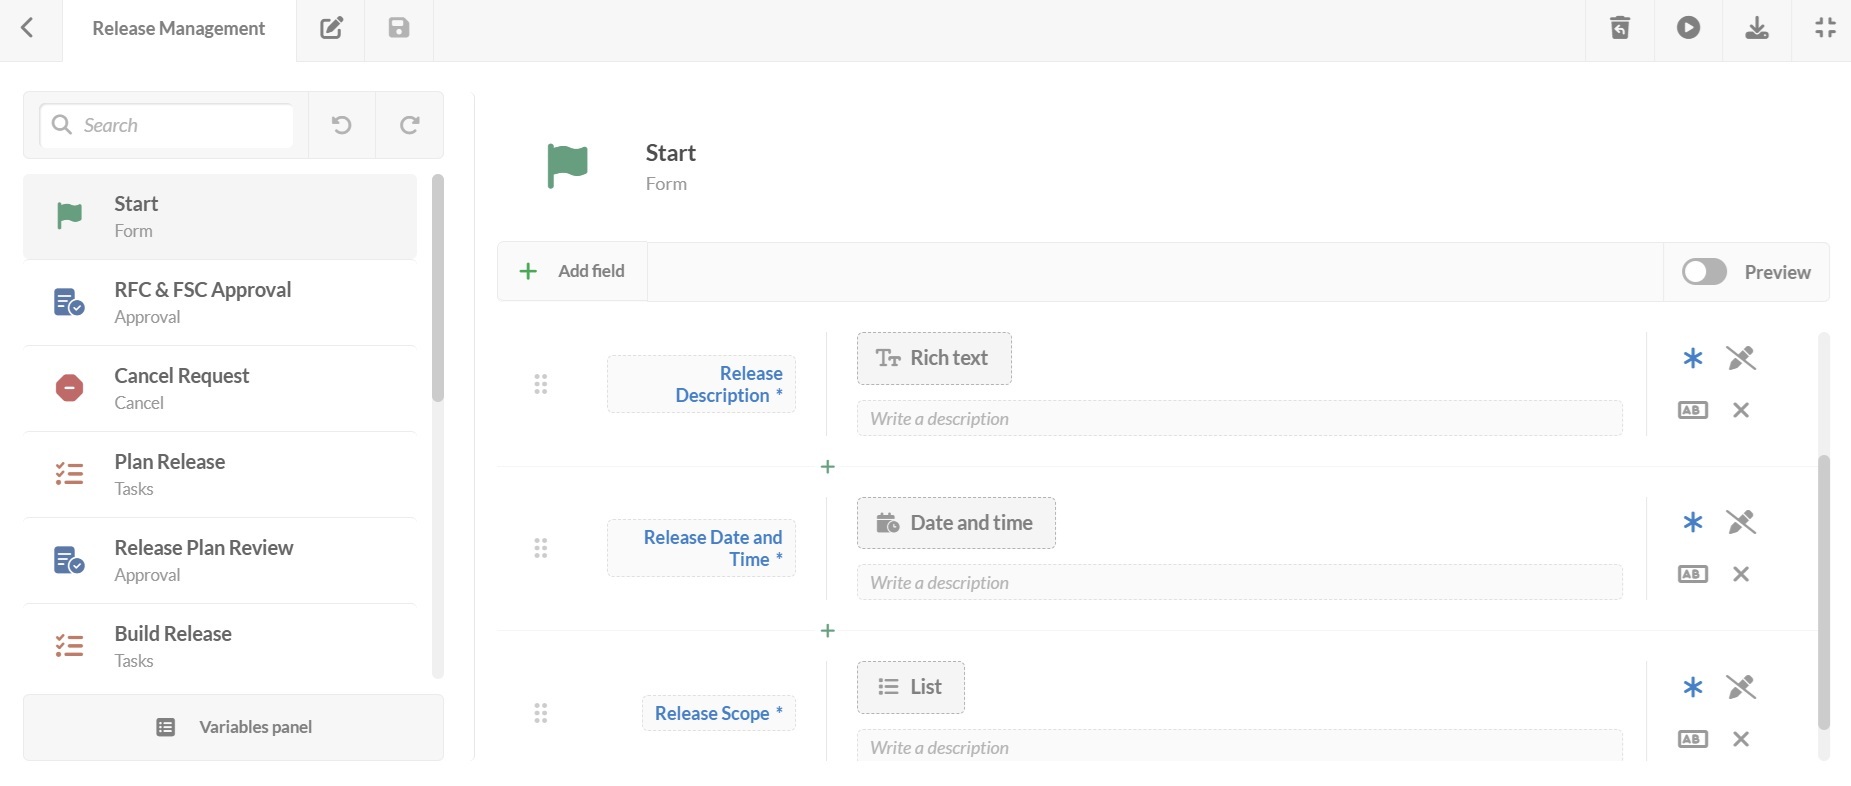
1. Start form

The request begins with a form that collects key details to evaluate the release. You can add, remove, or make fields mandatory based on your needs.
Default fields:
- Release version.
- Release description.
- Date and time.
- Scope.
- Approvers.
2. Request for change (RFC) & financial steering committee (FSC) approval
A step for the request for change (RFC) and the financial steering committee (FSC) to review the request to confirm it meets technical requirements and financial priorities.
Approval outcomes:
- Accepted – The release is approved for planning.
- Rejected – The request does not meet standards and is stopped.
- Canceled – The request is withdrawn for other reasons.
3. Plan the release
Once approved, a detailed release plan is created. This is a Tasks step, where you can list activities, assign owners, and set due dates.
4. Review the release plan
Stakeholders review the plan before moving forward.
Approval outcomes:
- Accepted – The plan is approved for building.
- Rejected – The plan is sent back for revisions.
- Canceled – The plan is stopped entirely.
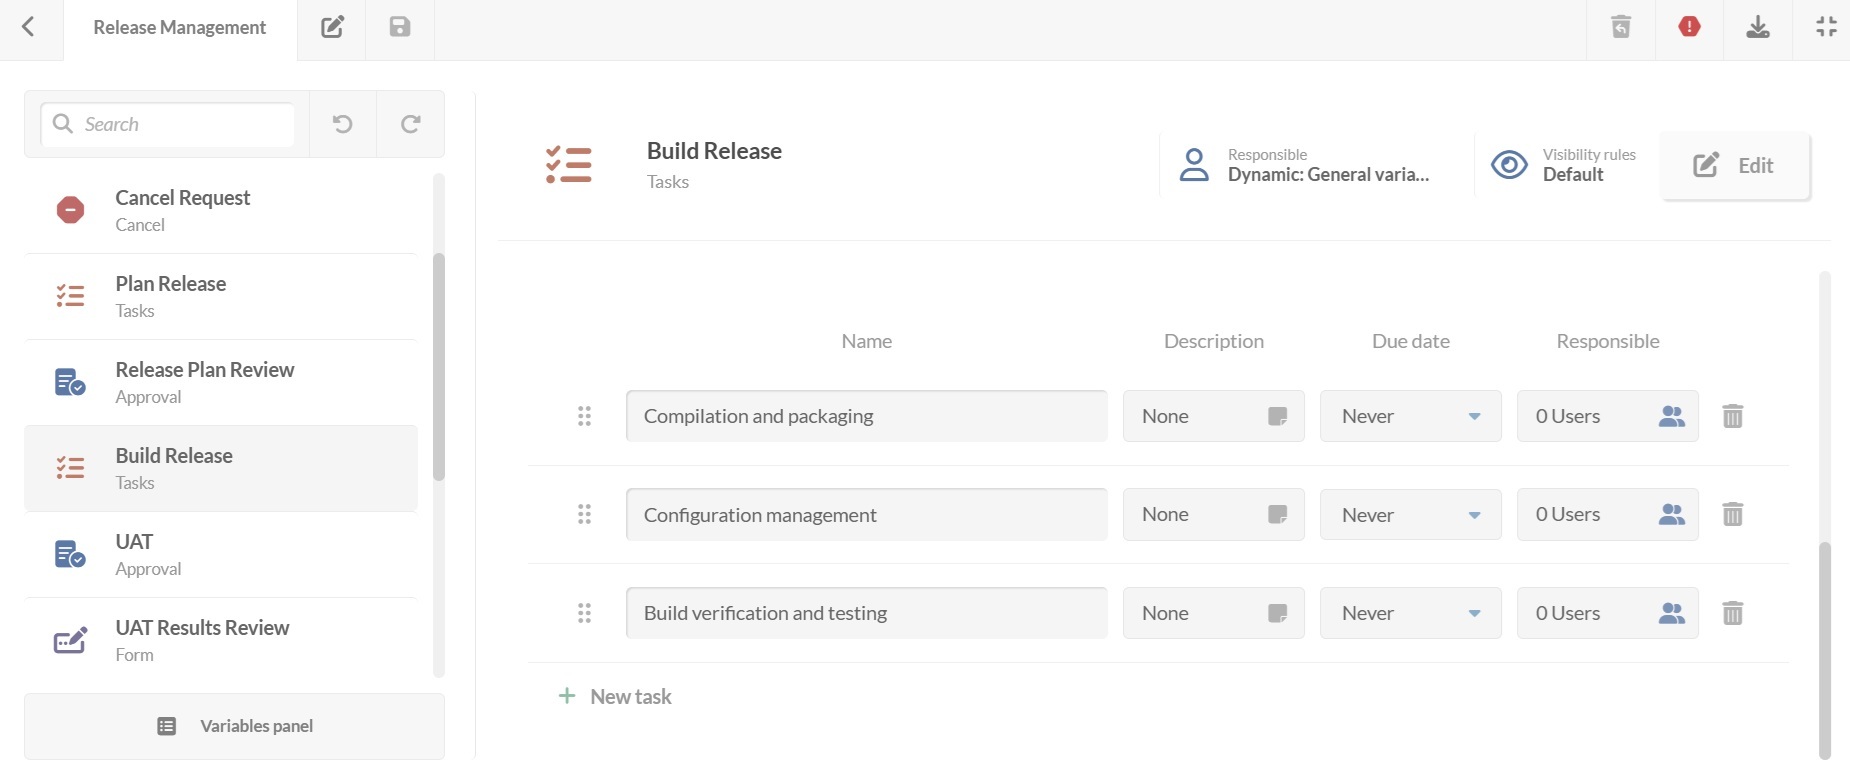
5. Build the release

With the plan approved, work begins to build the release. Once again, a Tasks block is used to define each step with a due date and a responsible person.
6. User acceptance testing (UAT) approval and review
Before deployment, the release is tested in a UAT environment. A designated reviewer analyzes the results.
Possible outcomes:
- Accepted – UAT results are satisfactory. The workflow moves to a Form block to capture results, analysis, lessons learned, and feedback before the next step.
- Rejected – Goals are not met, and the process returns to the previous stage to redefine tests.
7. Prepare for deployment
A final Tasks step related to deployment preparation, such as:
- Setting up deployment scripts.
- Scheduling the release window.
- Notifying stakeholders.
8. Deployment approval
The final check before going live confirms all requirements are met.
Approval outcomes:
- Accepted – Deployment can proceed.
- Rejected – The release deployment does not meet the required standards and moves back to the previous step to redefine the release plan.
- Canceled – The release is stopped entirely.
9. Deploy the release
A final Tasks block with all the necessary steps to deploy in the production environment.
10. Verify successful deployment
After deployment, there’s a verification step to ensure the release functions correctly in the production environment.
- If approved, the release moves to closure.
- If issues are found, the process moves all the way back to the second step, the plan release step, for review and rework.
11. Notify stakeholders of successful release
Once deployment is verified, all stakeholders get an automated email confirming success.
#3. Publish your Release Management workflow
Once your Release Management workflow is ready:
- Click on the save icon and return to the Workflows menu.
- Click on Publish version to activate the updated process.
- Then, assign it to the relevant request category in your service catalog – for example, Release Management under the IT department.
- Click Assign now.
De agora em diante, qualquer solicitação de liberação seguirá esse processo automaticamente.